
After doing regular tick checks on Tyler, I’ve noticed a clear pattern: ticks almost always turn up in the same spots. His ears and the area around his collar are where I find the most accumulation, every single time. Beagle anatomy plays a big role in this. Those floppy ears and the thick neck area are warm, dark, and easy to miss during a quick pat-down. This article covers every spot I check, why ticks gravitate there, and how to remove one safely when you find it.
I do regular tick checks on Tyler after every walk. It’s become one of those things I just do without thinking, like locking the door on the way out.
And over time, I’ve noticed something. The ticks don’t show up randomly across Tyler’s body. They keep showing up in the same places. His ears. His neck near the collar. Every single time.
At first I thought it was coincidence. But the more checks I’ve done, the more I’ve realised there’s a pattern. Ticks are not random. They know exactly where to go. And on a beagle, those spots are pretty predictable once you know what to look for.
Here’s what I’ve learned from months of regular checks on Tyler, and why these specific spots keep coming up again and again.
Why Beagles Are Particularly Tick-Prone
Beagles are built in a way that makes them unusually welcoming to ticks. Their long, floppy ears cover the ear canal completely, which blocks airflow and creates a warm, dark, moist environment inside. Because those ears cover the ear opening completely, there is reduced airflow in the ear canal, creating a moist, dark environment that allows bacteria and parasites to grow. Ticks love exactly that kind of spot.
On top of that, beagles are scent hounds. Tyler spends most of his walk with his nose inches from the ground, pushing through grass and low brush, which is exactly where ticks wait for a host. His head, ears, and neck are the first things that make contact with tick territory on every single walk.
Ticks tend to attach themselves most commonly around a dog’s head, neck, ears, and feet. For a beagle whose head is constantly at ground level, that’s almost the entire body surface exposed on a typical walk.
This is why I don’t do a quick pat-down and call it done. I go area by area, slowly, because the spots ticks love most on Tyler are also the spots that are easiest to miss.
The Two Spots Where I Find Ticks on Tyler Most
Out of every spot on Tyler’s body, these two come up the most in my routine checks. Not occasionally. Consistently.
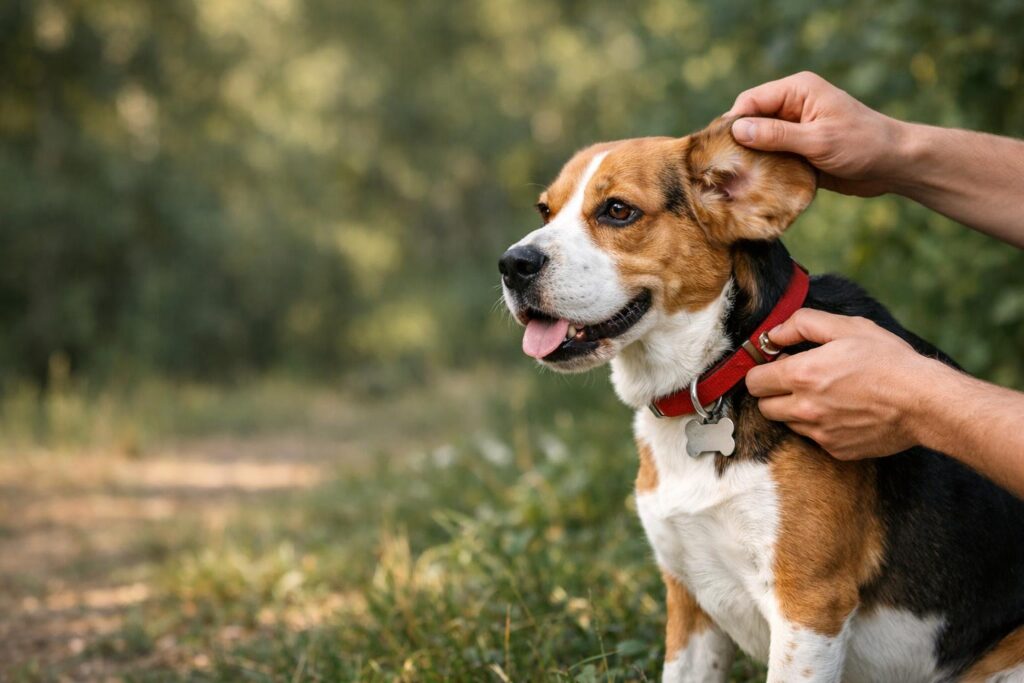
The ear flap area and the neck right under his collar.
I’ll get into both in detail below. But what I want to say first is that neither of these spots is obvious during a casual scratch or pat. You have to physically lift the ear flap. You have to take the collar off. If you skip either of those steps, you can walk right past a tick that’s been sitting there for hours.
Tyler has never seemed bothered when I do these checks. He’ll sit there fairly patiently, ears flopped to the side, looking vaguely offended, while I go through the routine. Beagles aren’t exactly stoic, but he tolerates it well enough.
The Ear: Tyler’s Highest-Risk Zone
The inside of a beagle’s ear flap is one of the most common tick hiding spots on any dog. Dogs are curious creatures, sticking their heads into everything, so it’s not uncommon for ticks to find their way onto the head and into a dog’s ears. The ear flap seals in warmth and moisture, giving a tick an ideal environment to attach and go completely unnoticed.
What makes beagle ears specifically worse than other breeds is that long pendulous flap. Because beagle ears cover the ear opening completely, there is reduced airflow in the ear canal. That combination of warmth, darkness, and moisture is exactly what ticks seek out. It’s basically a five-star hotel for them.
When I check Tyler’s ears, I don’t just look at the outside. I gently lift the flap and look at the inner surface, the fold where the flap meets the side of the head, and as far into the ear canal as I can see. A torch helps a lot here. Ticks in the early stages are tiny and can look like a small dark spot or even a piece of debris. The difference is that debris doesn’t have legs.
If Tyler starts shaking his head more than usual or scratching at his ear between checks, I go straight to the ear first. That’s usually the first sign something is bothering him in there.
The Collar Area: The Spot Everyone Forgets
The neck under the collar is one of the most overlooked tick spots on a dog. Many dogs rarely have their collars taken off, and with good reason. But ticks can become attached underneath without anyone noticing, usually until the tick is large enough to be seen, which means it’s been there for a while.
The collar creates a perfect pocket. It’s dark, it’s warm, it sits tight against the skin, and most owners never think to remove it during a check. I was guilty of this for a while. I’d run my fingers around the outside of Tyler’s collar and feel nothing. But I wasn’t actually checking under it.
Now the collar comes off every single time. I check the skin on Tyler’s neck all the way around, then I check the collar itself. Ticks can hitch a ride on the collar material before making their way to the skin. It takes an extra thirty seconds and it’s worth doing.
Tyler has absolutely no opinion on having his collar removed during checks. He just looks at me like I’ve temporarily demoted him.
Other Spots Worth Checking on Your Beagle
Ears and collar get most of my attention because that’s where I find ticks on Tyler most often. But I don’t stop there. A thorough tick check should also cover the inner and outer ear flaps, between the toes, under the tail, around the eyelids, and in the underarm and groin areas.
- Ears: inside the flap and around the base
- Neck: collar off, check all the way around
- Between each toe and around the paw pads
- Armpits: where the front legs meet the body
- Groin and belly area
- Under the tail, near the base
- Around the eyelids
Ticks prefer warm, dark areas with easy access to skin. The armpit region is a common spot too: it’s dark and difficult for the dog to reach or for you to see, and a tick there could be mistaken for a skin tag.
The eyelid area is one I was surprised to learn about. Ticks near the eyes are sometimes dismissed as discharge or a skin bump. If you see anything unusual near Tyler’s eyes, I always look twice.
How to Safely Remove a Tick When You Find One
Use fine-tipped tweezers. Grasp the tick as close to the skin as possible and pull straight upward with slow, steady pressure. Do not twist, do not jerk, and do not squeeze the body. Pathogen transmission can occur as quickly as three to six hours after a bite, so the sooner you remove the tick, the less chance there is that your dog will get sick.
After removal, clean the bite area with antiseptic and wash your hands thoroughly. Keep the tick in a small container with rubbing alcohol rather than crushing it with your fingers. That way, if Tyler develops any symptoms in the following days, you can show the vet exactly what type of tick it was.
A few things I never do during removal: I don’t use my bare hands, I don’t twist the tweezers, and I don’t try to suffocate the tick with Vaseline or any other product. Spreading your dog’s fur and grasping the tick as close to the skin as possible, then pulling straight upward in a slow and steady motion, gives you the best chance of removing the entire tick cleanly.
For anything deep inside the ear canal, I skip the home removal entirely and call the vet. That’s not the place for tweezers and guesswork.
How Often I Check Tyler, and What My Routine Looks Like
Every walk. That’s the simple answer. Every single time Tyler comes back inside from a walk, he gets a check before he settles down.
The whole routine takes about two minutes. Collar off, ears lifted and inspected, fingers run through the neck and jaw area, then a quick check down the body hitting armpits, groin, tail base, and paws. If the walk was in longer grass or a new area, I take a bit more time.
Tyler cooperates about seventy percent of the time. The other thirty percent he’s distracted by something across the room that I apparently can’t see. But we get through it.
I didn’t always do this. I started doing proper checks only after Tyler went through his tick fever episode. That experience made me realise how quickly a tick bite can escalate into something serious. Two minutes after every walk is a small price to pay.
The most important preventive steps are those that control ticks. Keeping your dog away from areas known to harbour ticks and using preventive medications are both essential. But the daily manual check is what actually catches what prevention misses.
Conclusion
Ticks on beagles are not random. They have favourite spots. And once you know what those spots are on your specific dog, checking becomes faster, more focused, and more effective.
For Tyler, it’s always the ears and the collar area first. Those two spots alone have taught me more about tick behaviour than anything I’ve read.
- Beagle floppy ears trap warmth and moisture: prime tick territory
- The collar area hides ticks completely if you don’t remove it during checks
- Other hotspots: armpits, groin, toes, tail base, eyelids
- Remove with fine-tipped tweezers, pull straight, never twist
- Deep ear canal ticks: go straight to the vet
- Check after every single walk, not just sometimes
If a tick does make it through and your dog starts showing signs of illness, don’t wait. I learned that lesson the hard way with Tyler. If you want to read about what tick fever actually looks like from the inside, I’ve written about that experience in full detail here: My Dog Had Tick Fever: What Tyler’s Diagnosis Taught Me About Acting Fast.